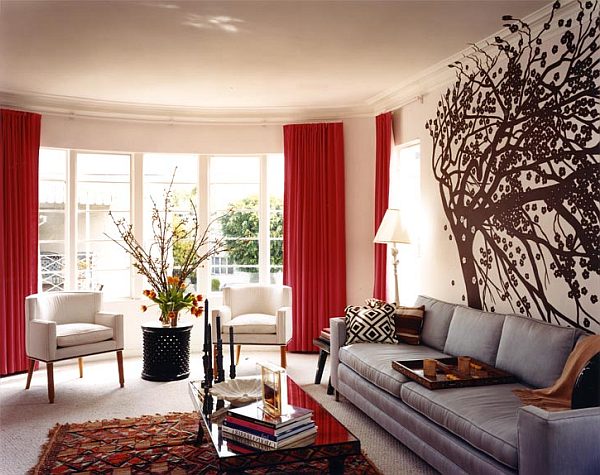
If you’re looking to add a cozy, boho vibe to your home, macrame hangings are the perfect choice! These intricate yet simple-to-make designs bring texture, charm, and personality to any room. Even better? You can make them yourself! This guide will walk you through the process of creating your own macrame masterpiece, step by step.
Whether you’re a DIY enthusiast or just starting, you’ll find this tutorial fun and easy to follow. Let’s dive into the world of knots and creativity!
Materials You’ll Need
Creating macrame hangings doesn’t require many materials. Here’s what you’ll need to get started:
- Macrame cord: Choose cotton for a natural look.
- Wooden dowel or metal ring: Acts as the base for your design.
- Scissors: Sharp enough to cut through thick cords.
- Measuring tape: To measure your cords precisely.
- Optional embellishments: Beads, feathers, or colored cords for personalization.
Pro Tip:
You can find these materials at craft stores or order them online. For eco-conscious crafters, look for sustainable and biodegradable macrame cords.
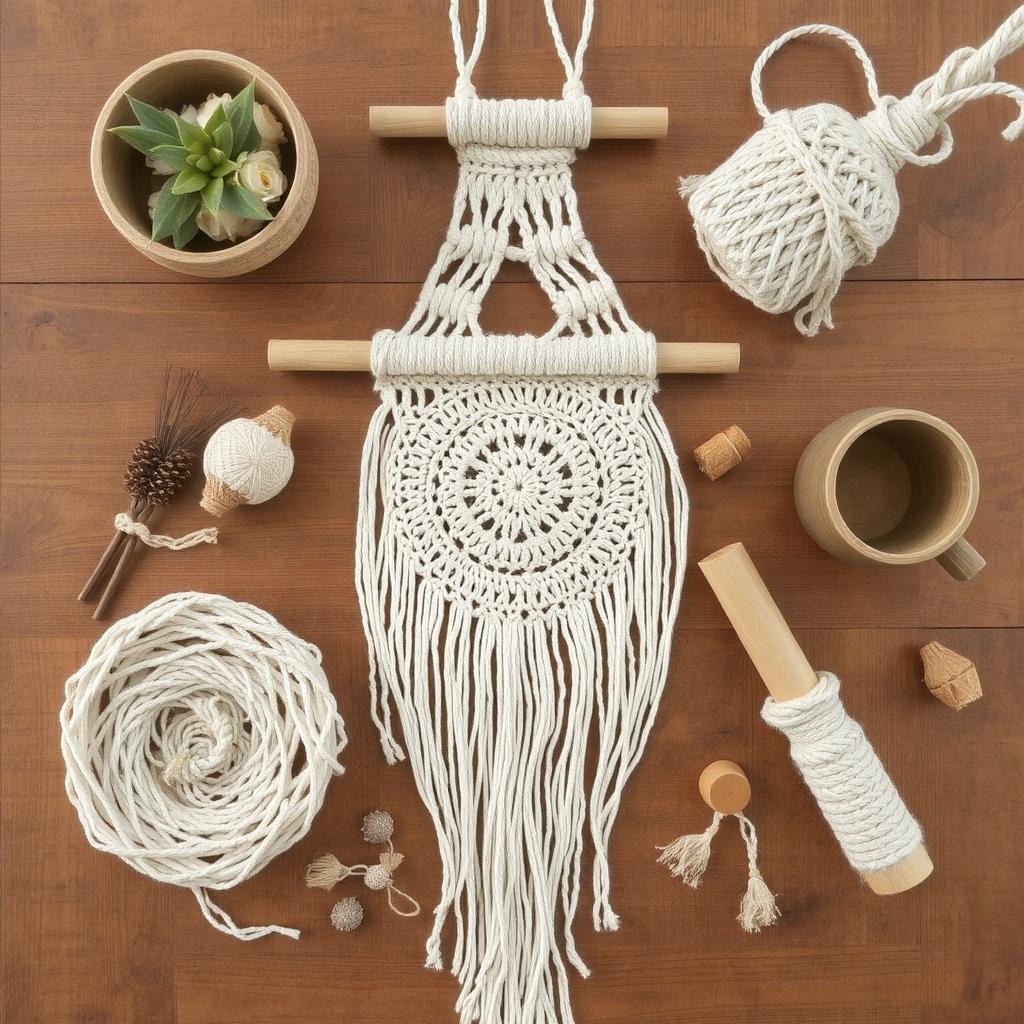
Alt tag: “Macrame crafting materials including cord, wooden dowel, scissors, and beads.”
Basic Macrame Knots You Should Know
Mastering a few basic knots is all you need to create stunning macrame hangings. Here are the three essential ones:
1. Square Knot
- Start with four cords.
- Cross the left cord over the middle two cords and under the right cord.
- Repeat in reverse, crossing the right cord over the middle two cords and under the left.
- Pull tightly to form a square knot.
2. Lark’s Head Knot
- Fold a cord in half and place the loop over the dowel.
- Pull the two loose ends through the loop and tighten.
3. Half Hitch Knot
- Take one cord and loop it over an adjacent cord.
- Repeat to create a spiral effect.
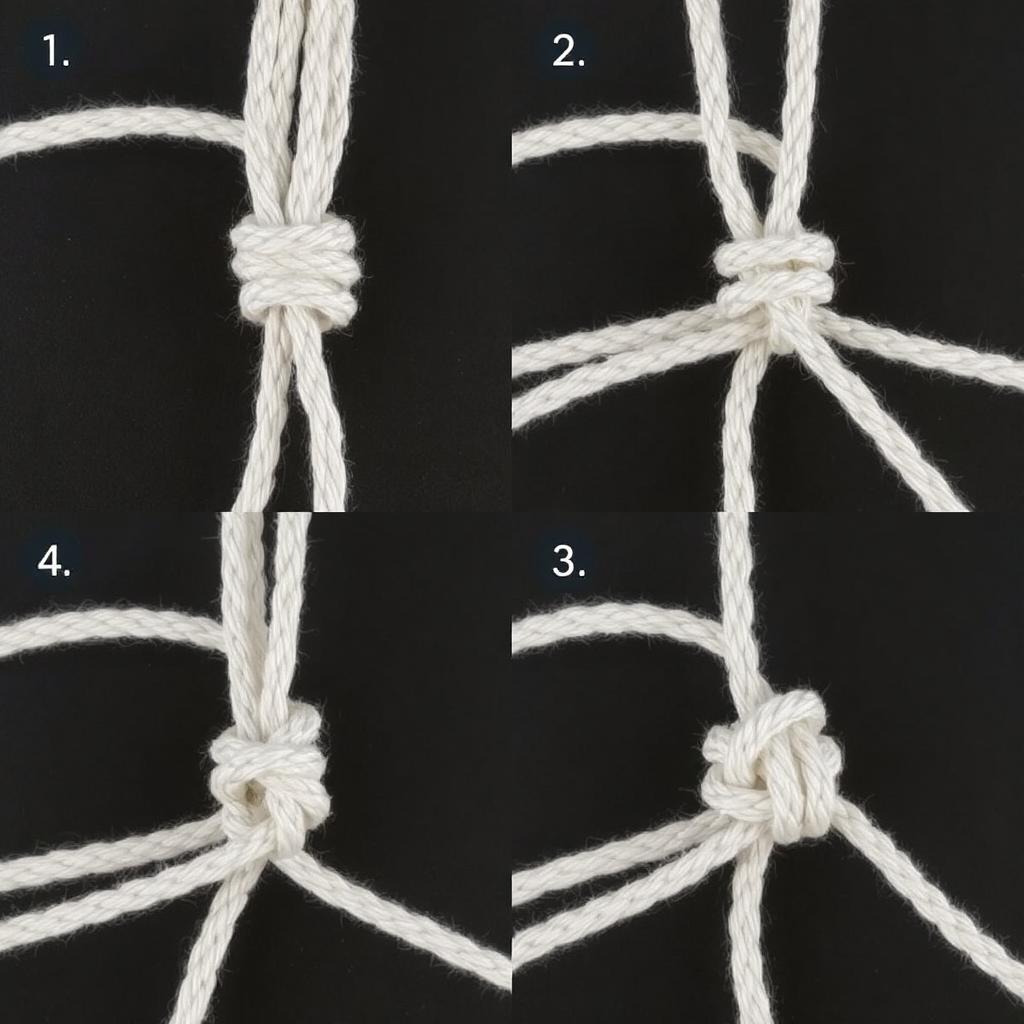
Alt tag: “Step-by-step guide to tying a square knot for macrame.”
Step-by-Step Guide to Making a Simple Macrame Hanging
Now that you’ve got the basics, let’s create your first macrame hanging!
Step 1: Choose a Design
Decide on a pattern that fits your space. Simple geometric designs are great for beginners, while layered designs are perfect for those feeling adventurous.
Step 2: Cut and Prepare Your Cords
Measure and cut your cords to the desired length. A good rule of thumb is to make them four times the length of your finished piece.
Step 3: Set Up Your Workspace
Attach your dowel or ring to a stable surface. You can use a hook, tape, or even a clipboard to keep it in place while you work.
Step 4: Start Knotting
- Attach your cords using lark’s head knots.
- Follow your chosen pattern using square knots and half hitches.
- Adjust the knots as you go to ensure symmetry.
- Add decorative beads or other embellishments to personalize your piece.
Step 5: Add Finishing Touches
Once your design is complete, trim the fringe to your desired length. You can also brush out the ends for a softer look.
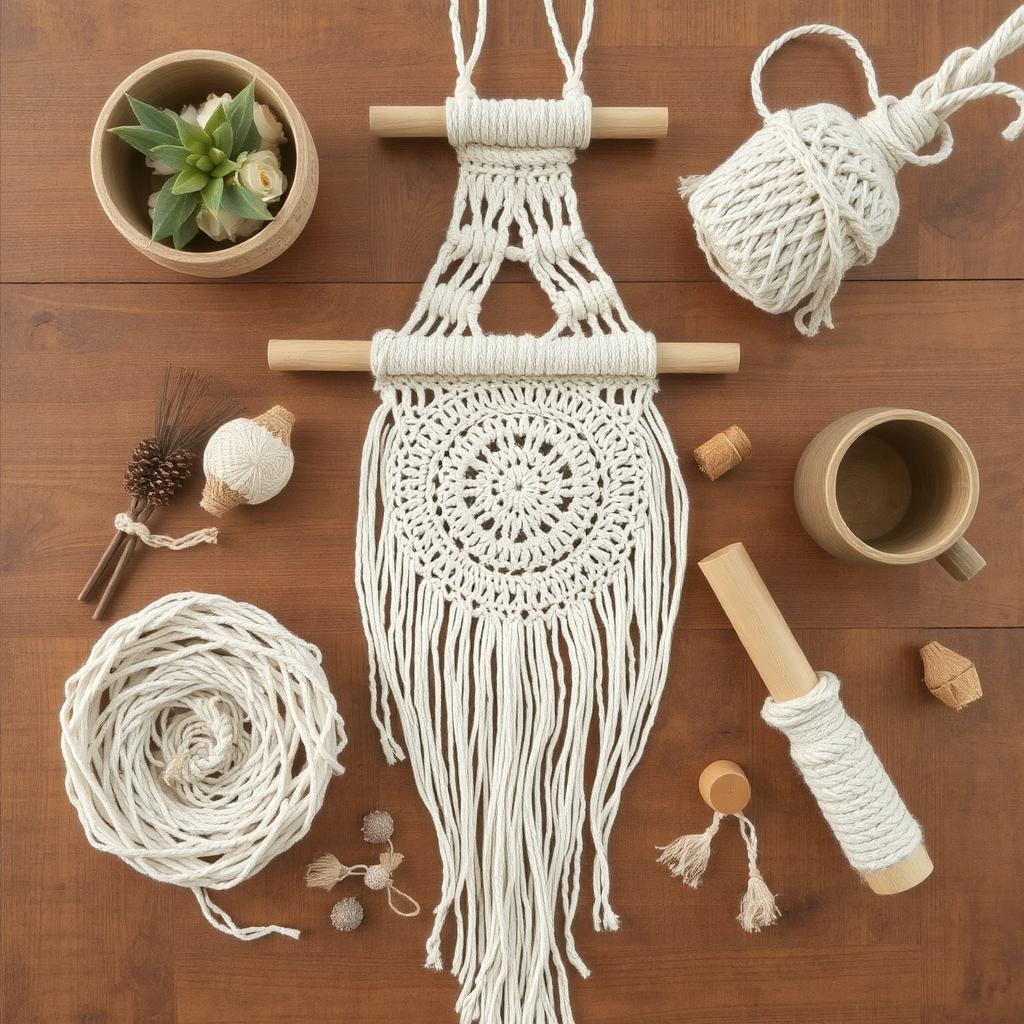
Alt tag: “Partially completed macrame hanging showing square and half hitch knots.”
Display Ideas for Your Macrame Hanging
Now that your masterpiece is ready, it’s time to show it off! Here are some creative ways to display your macrame hanging:
- Wall Art: Hang it above your bed, sofa, or a blank wall for a statement piece.
- Plant Hanger: Use your macrame design to hold small potted plants, perfect for a boho vibe.
- Gallery Wall: Combine it with framed prints or other wall decor to create a gallery-style arrangement.
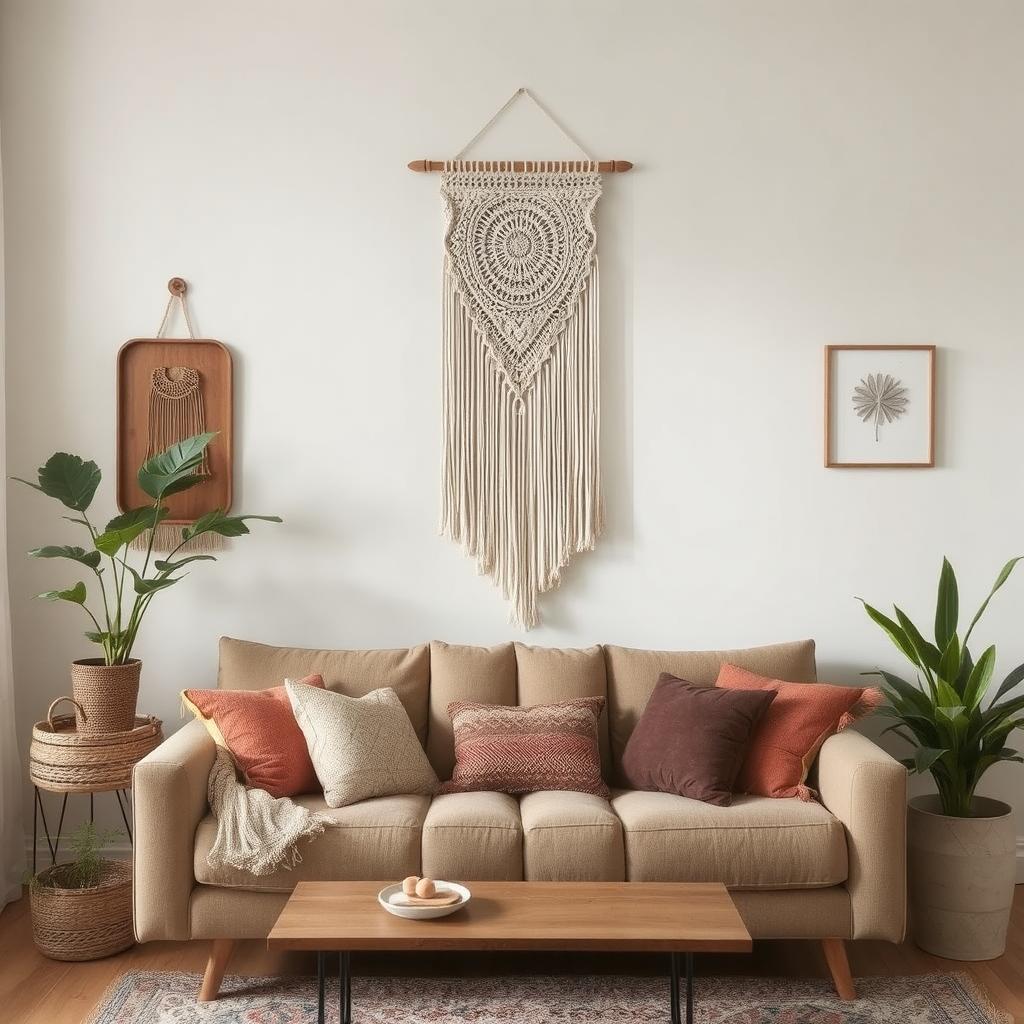
Alt tag: “Boho-style living room with macrame wall art as a centerpiece.”
Tips for Beginners
- Start small: Begin with a simple project to get the hang of basic knots.
- Be patient: It’s okay to make mistakes. Knotting can be relaxing once you find your rhythm.
- Experiment: Play with different cord colors, textures, and embellishments to create a unique look.
- Join a community: Follow macrame enthusiasts on Instagram or join a Facebook group for inspiration and support.

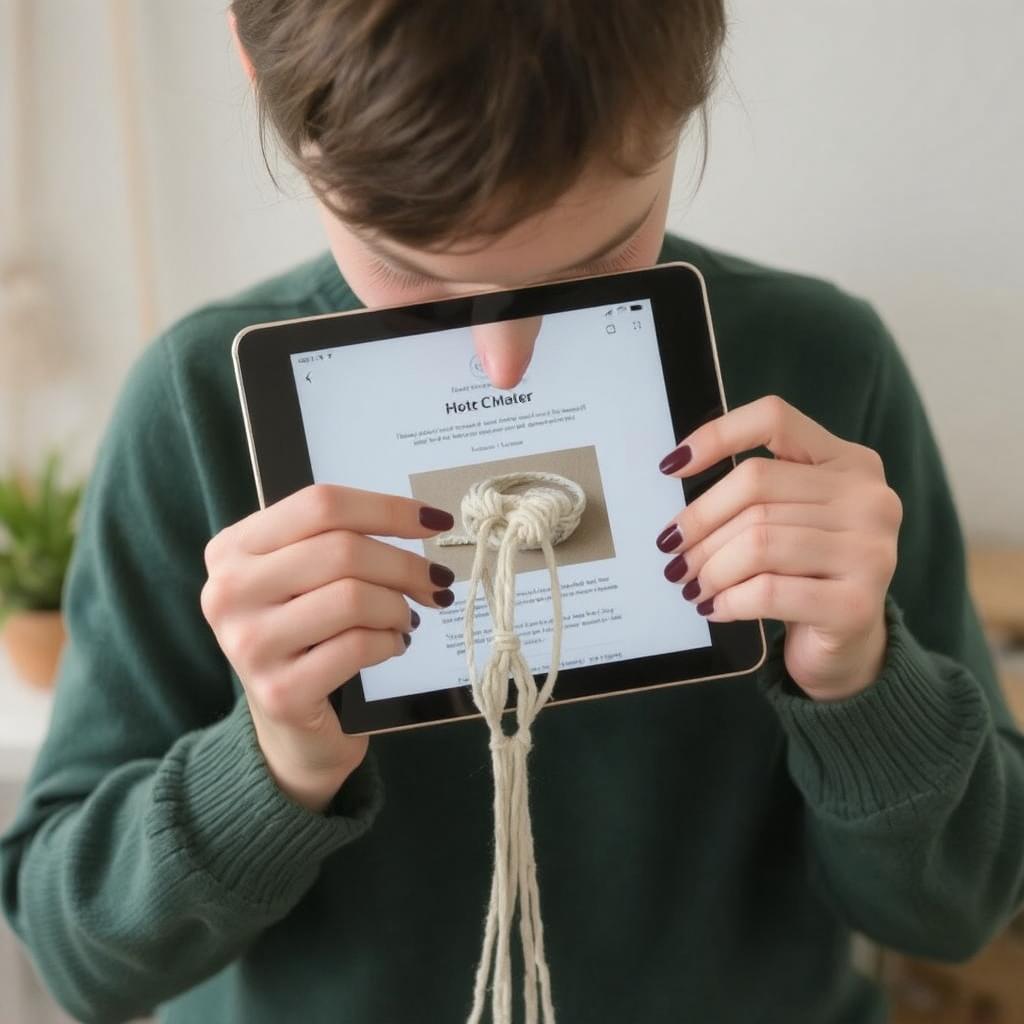
Alt tag: “Beginner learning macrame knots with step-by-step instructions on a tablet.”
Why Make Your Own Macrame Hangings?
Macrame is more than just a decor trend; it’s a therapeutic and rewarding craft. By making your own macrame hangings, you:
- Save money compared to buying ready-made pieces.
- Customize designs to suit your style and space.
- Enjoy the satisfaction of creating something beautiful with your own hands.
Plus, macrame hangings make thoughtful, handmade gifts for friends and family!
Conclusion
Creating your own macrame hanging is a fun and fulfilling way to add a boho vibe to your home. With just a few materials and some simple knots, you can craft a piece that’s uniquely yours. Don’t be afraid to experiment and let your creativity shine!
We’d love to see your macrame creations! Share your photos or questions in the comments below. Happy knotting!
Alt tag: “Finished macrame hanging on a wall in a boho-themed room.”
SEO Optimization Notes:
- Primary Keywords: Macrame hangings, boho vibe, DIY macrame.
- Secondary Keywords: How to make macrame, macrame decor, macrame wall art.
- Alt tags include keywords to improve image SEO.
- Structured headings (H2, H3) for readability and SEO.
Would you like suggestions for internal links or ideas for a Pinterest graphic? 😊
